Photographers in Vermillion have recently begun a camera club. I'm excited about this. I tried to belong to the Sioux City Camera Club, but I always had to work the nights that they met. We'll see what my track record is with this group. I've been able to attend one of two or three meetings, but was able to participate in the activity for the month.
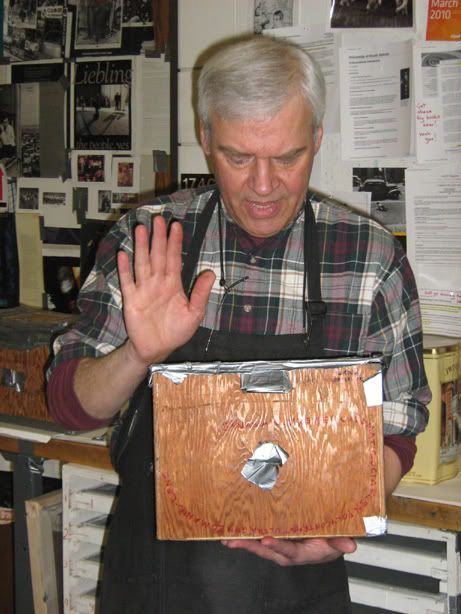
USD's photography instructor, John Banasiack, hosted the activity and discussed a very important tool in the development of the art form. Pin Hole cameras have been used for hundreds of years. It's such a basic device, but I've never had the opportunity to try one myself.
John demonstrated using a wood box camera that he'd constructed. Oatmeal containers, candy tins and a variety of other containers were also available. It is tricky to pick which you'd like to use though. A shallow container creates a wide angle image, a deep container is more like a telephoto lens.
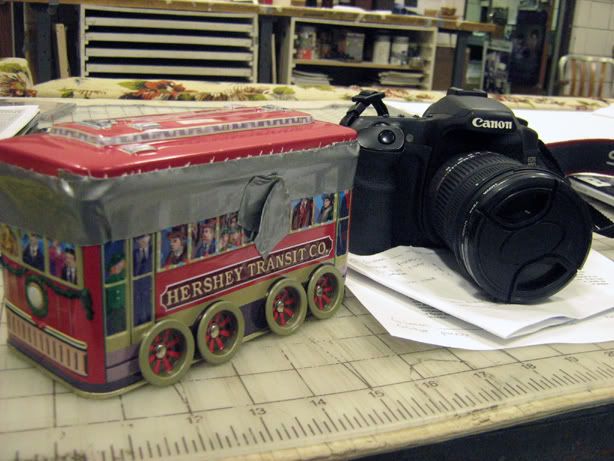
I used a chocolate tin. I picked it because it seemed the most novel. My container was shallow, so I got a wide view. However, the back surface of the container is quite small, so it wasn't large enough to reveal the circular field of view. This is like your 35mm cameras, or even your digital camera. If your lens was allowed to project onto a surface large enough, you'd get a round image. But, these cameras are built so that they crop a rectangular image out of the center of the circle. At least that's all to the best of my understanding.
First we cut a piece of film to fit our container. The pinhole is covered by tape so that we don't leak light too early. It's also a good idea to tape around the hatch to reduce the chance of any other unwanted light.
I took my camera out to a bike rack. It's tricky to aim the camera, there isn't a viewer. Exposures are long enough where you can't hand hold the box, so it needs to be set on the ground. I was going to place mine on the garbage can, but I didn't like the location.
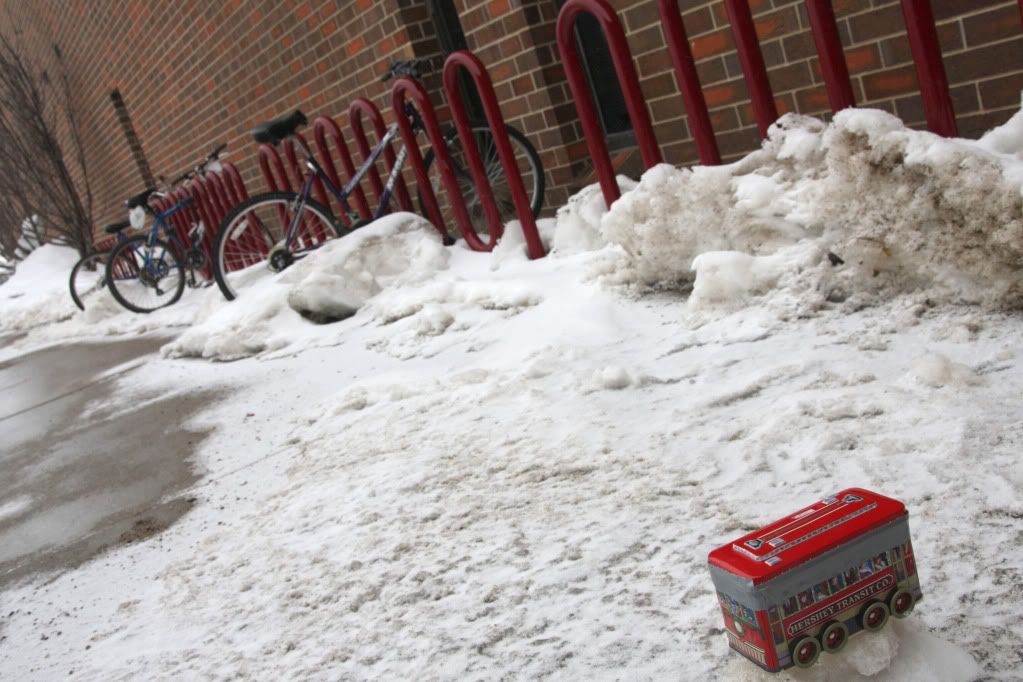
I exposed my image for about 15 seconds, then returned to process the film. If I chose to make an image inside, the exposure would've been closer to 30 minutes. This film responds better to ultraviolet light.
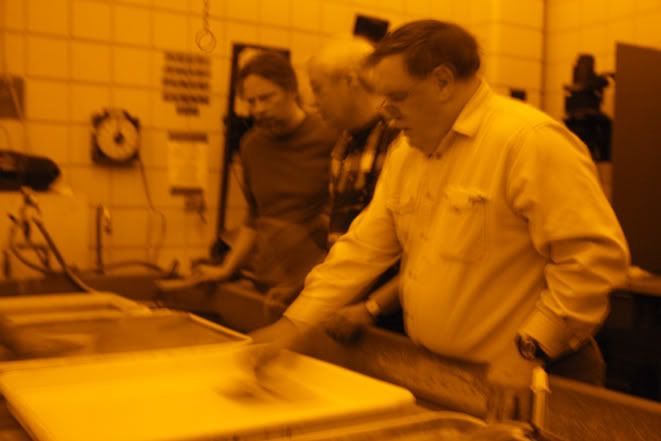
Here's a group processing their film:
My negative:
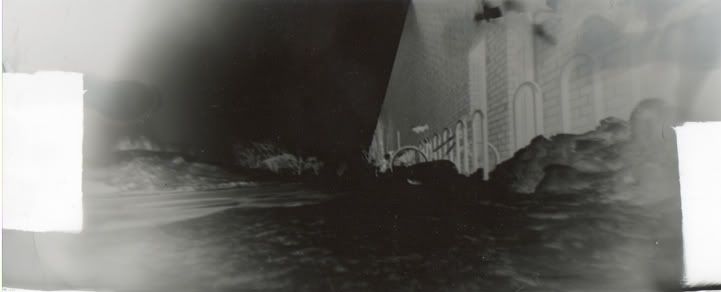
Photos are printed by placing the negative in direct contact with paper. We brushed a chemical solution onto paper. Again, this surface responds better to ultraviolet light rather than artificial light. After preparing the paper and assembling the contact print holder, I returned outside to wait for 20 minutes while the image revealed itself.
Then it was back to a water and developer bath to adhere the image to the paper and stop the process from advancing further.
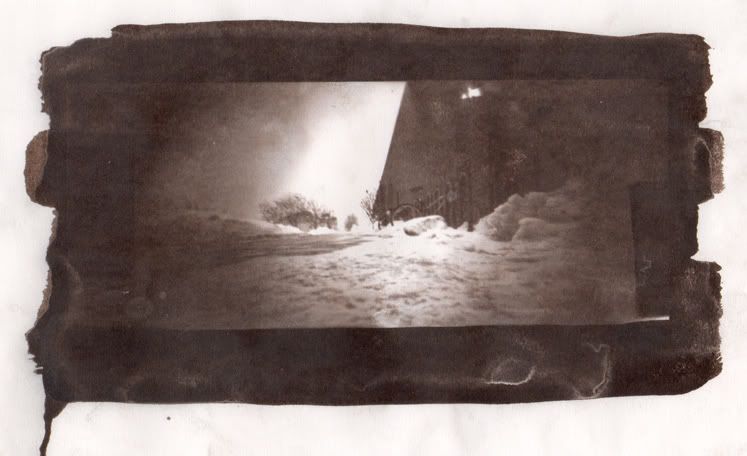
Getting detail in both the dark and the light regions simultaneously is difficult. If I could do it again, I'd move closer to the bikes. I did want to show that they were snowed in, but it's hard to see that in the resulting image.
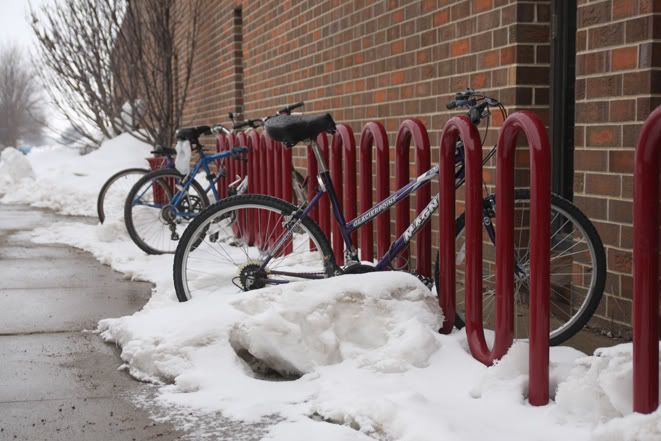
The target image taken with my digital camera.
I haven't had the opportunity to process paper in a darkroom in YEARS. I graduated 9 years ago. I maybe worked in the darkroom a couple times in the first year out of college. While we didn't use an enlarger to print photos onto paper, this was still really cool.
I need to clean out my basement and set up an area for a darkroom. I've acquired an enlarger and most of the items that I need. I just haven't gotten around to doing it. It's something that I wondered if I ever would get around to. Digital photography is an incredible development, I do enjoy the instant gratification of seeing the image that I JUST made. But, there is something magical about going through the process of making an image appear on film and then on paper.
During our session we got a refresher course on the history of photography. The craft has been around for a long time. We discussed that images can be made without electricity and that with the process that we did during the day, we could in fact document the apocalypse.
I've debated taking photography courses at USD. I have a minor in the discipline, why relearn what I've already gone through? Access to resources, direction and facilities would be huge. John mentioned that the primitive photographic methods are areas that his students delve into. I wouldn't trade the photography professor that I did have, but it would've been a great experience to make a pinhole camera, or experiment with albumen plates (egg white is the medium that adheres the light sensitive silver particles to a glass plate). There are so many other printing methods to learn too.
If it works into my schedule next year, perhaps I'll enroll. Really, I think that anyone interested in photography should take an introductory class. At a university. There are lots of methods to learn composition and how to "take" a photo, but in this digital age people have limited access to film and how photos used to be made.
Film vs. Digital, I won't deny that film seems to be withdrawing into history. I don't have to like it though. On one hand digital is maybe more environmentally sound in that you can toss all of the experimental exposures that you made on the way to the final image and film involves chemicals and the use of special paper and the production of roll upon roll of negatives. On the other hand, digital photographers are never happy. In this age of computers and processors, there's always a bigger and faster camera to upgrade to or computers to replace and software to purchase. It really is maddening. Computers are so much a part of every day life now, I guess that it doesn't make a huge difference.

I will, however, continue to hold on to my Canon Elan 7e and my rustic Pentax K1000. I can't bear to let them go and they wouldn't bring much on ebay right now anyway. :D
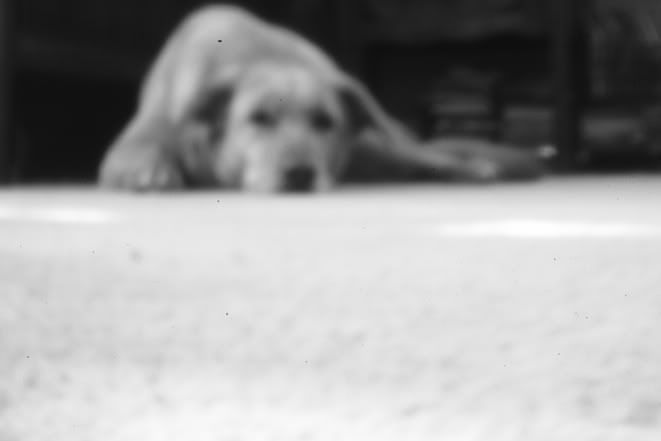
This weekend I've also been trying to make my digital camera into a pinhole camera. I haven't had much luck. We drilled a one inch hole into the body cap of my camera. Then I taped a piece of black paper over it and made a pin hole in the center. Even shooting a wide scene, there doesn't seem to be any point that's in focus. Generally the smaller the opening, the sharper the scene when you deal with the aperture on a lens. Our pin hole cameras yesterday weren't tack sharp, but there were some areas with a bit of focus.
Here's an image from my effort:
I will experiment. If anyone has any suggestions or insight, I'm open to them!
