All original photos belong to Melissa Hamersma Sievers, Sieversma Photography. Linked images as reference will be cited.

Prints of many of these images are for sale.

Friday, December 31, 2010

Happy New Year

As far as photography goes, I've been pretty happy with my work in 2010. I've been doing some portrait work, but I've also been diligent about tackling some creative work too. My hope is that I will put out some truly unique portraits in the process. I believe that I'm improving, its a never ending journey.

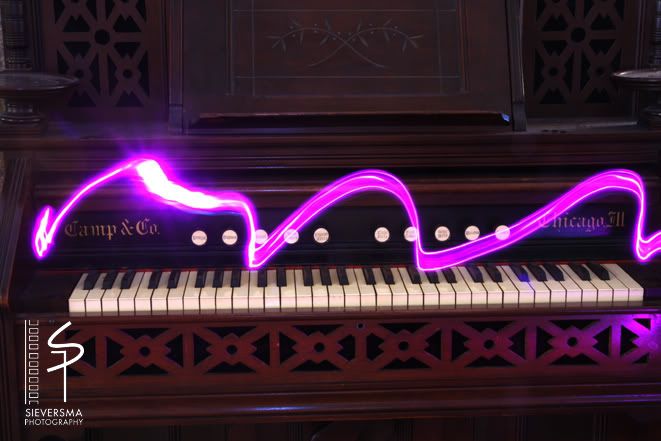
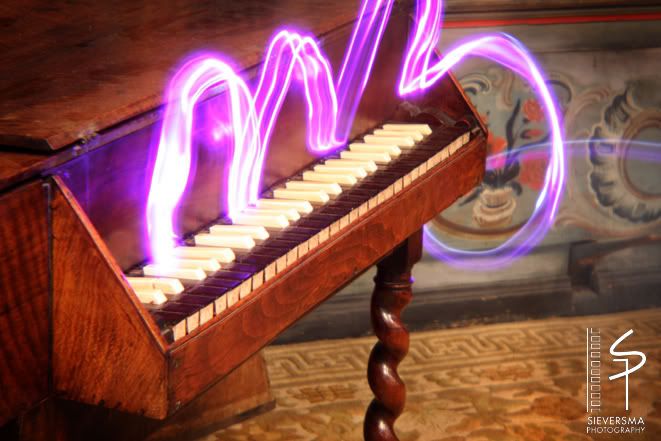
I've posted some light painting efforts in the past. Tonight it's also the subject of the last images that I made in 2010. Worked on an idea for a photograph in the dining room, plus a smooch with the husband at midnight. :D


I've tried this previously, but I wasn't working at a dark enough hour. This is also particularly tricky to work at such a small scale. I keep bumping the doll, so this image isn't particularly sharp. I fitted a light brite peg to a small LED flashlight for my light source. It's helpful for working like this, but still not very precise.

The photo that I made just after midnight is my favorite.


Both photos only received minor digital tweaks.

I wish that I could say that this was my own brain child.

Awhile ago I ran across the work of Atton Conrad when I was browsing on another photo website.

I'd would like to try it with a person sometime. The subject could wear black shorts and a tank top. I may work on using some stencils and other tools to bend the light in a more desirable fashion.

There are so many things to try.

Really, it is a good thing that we're starting a whole new year.

On a related note: I'm going to try the 365 project. We'll see how that goes. Watch for more posts regarding that. If you're curious to see some of the photos that other people have done, just google search "365 Photo Project". Or, wander over to Flickr to see images that thousands of other people have made.

I think that I've wound down enough to turn in for the night myself. I hope that you all have many moments of inspiration in 2011!!

Sunday, November 7, 2010

Election Night 2010


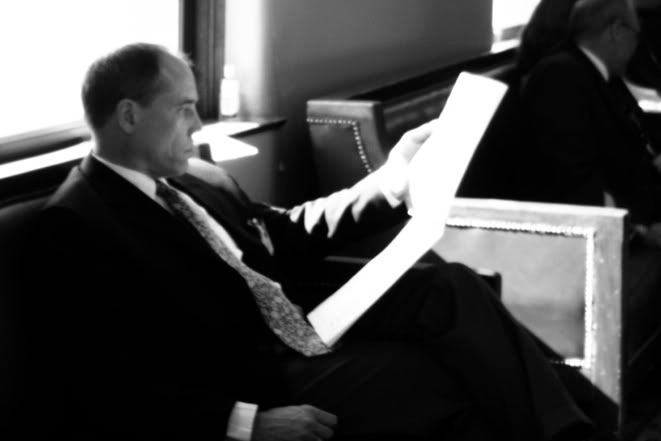
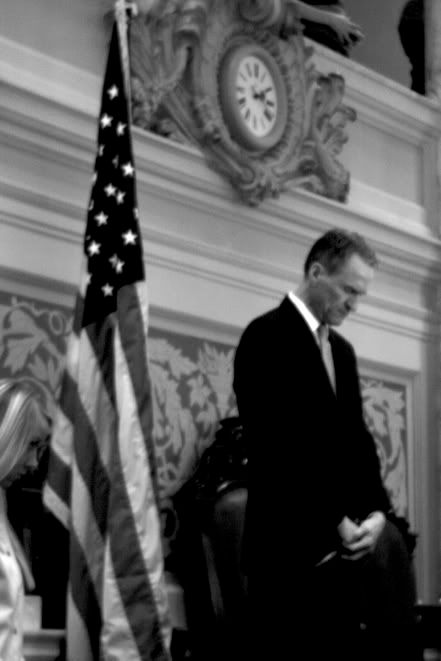
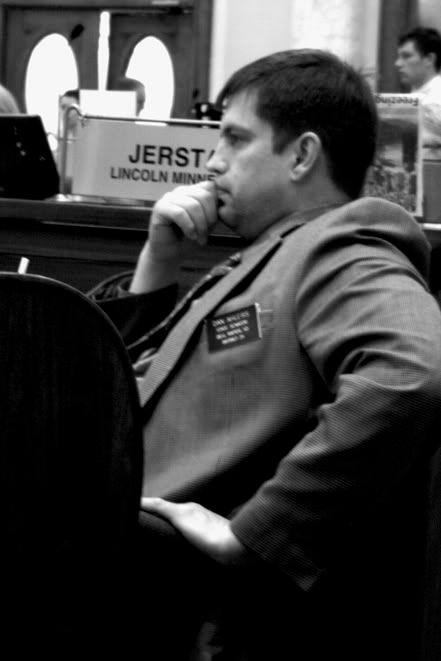
It's true, the election was nearly a week ago. Finally I've been able to get a few photos from the South Dakota Republican party site posted. I was assigned to that location to help SDPB radio cover the election. When I was waiting for an individual to become available for an interview, I made a few photographs.


Congrats to all participants in the 2010 elections, win or lose. Thank you to those of you who threw your hat into the ring and good luck to those who gained their respective office.

Monday, October 11, 2010

Fall

Photobucket

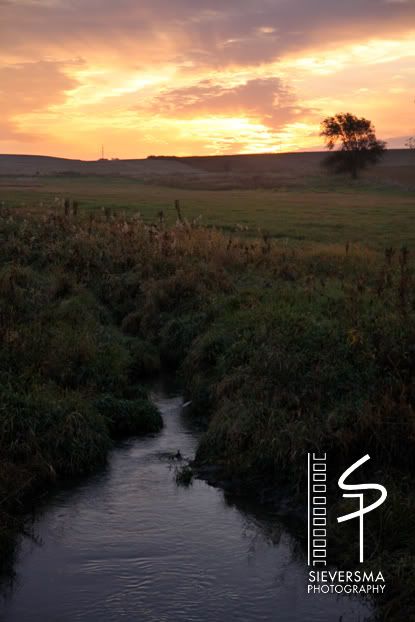
I don't remember getting much opportunity to truly photograph the fall season last year. I was chatting about this with a lady while waiting for my take out lunch. She agreed. Last October was chilly and the trees just dropped their leaves before autumn really occured.

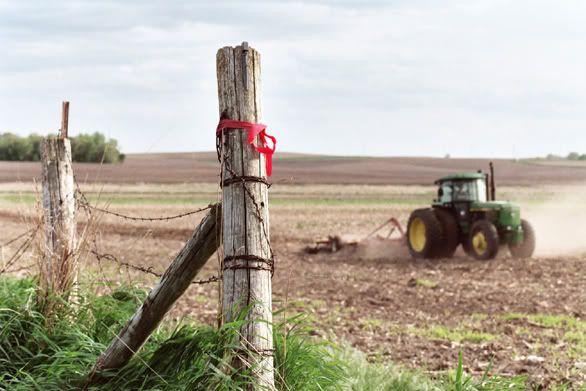
This year has been wonderful!! Native Amercian Day weekend, or Columbus Day if you live anywhere but South Dakota, has been full of gorgeous weather. My husband farms, so I helped him move some equipment between fields. When we were done with that I stopped to create some photographs. I also headed over to a local state park for my own photo hike yesterday.

My husband is still harvesting, I think that some evening photo sessions may be in order if he's working late tonight. The temperature is so mild, even when the sun drops. How could a person resist?

Please enjoy a few of my photographs!

Tuesday, June 22, 2010

Pinhole Photography


I read a blog entry about making a pinhole lens for a SLR body. I had tried something like this with my DSLR, that didn't work so well. I later read that the small sensor in a DSLR interferes with the sharpness that one may hope to achieve. Others have had better luck with full frame DSLR cameras or film cameras. So, I got my Canon Elan 7E body back out, picked up a Willy Wonka candy tin and made a pinhole lens.

I will post a pic of that contraption later.

I didn't have very good luck with acquiring sharp images of any sort. It seemed to work best if I were close to the subject, like flowers. Though in other images with similar distance, it didn't work at all. Landscape images didn't work so well, but I think that I like them anyway. I don't know if I'm trying to justify a poor image, or if it is actually 'artsy'.

They remind me of impressionistic images, but some with even less detail.

Here are a few of the images in a slideshow:

Wednesday, May 19, 2010

Dandelions

I don't remember how this idea got in my head. Seeded out dandelions are such a nuisance, but visually they're interesting.

I thought that it would be cool to try to use them in a photo illustration. A tiny figure came to mind. I think that I was imagining illustrations that I've seen regarding Le Petite Prince (vaguely). Follow this link to learn more about the story.. Sidenote: We read bits of it in French 101. I have a copy in french, but am unable to read it without having a dictionary by myside. I would like to acquire an english copy sometime so that I may read the whole story myself.

Anyway, I imagined a small person on something like a dandelion head. It is a subject that seems other worldly. I also wanted to use my self constructed holga lens - it distorts an image and creates a soft photo.


I used to have two holga 120 cameras. I kept one whole. I ripped the lens off another after seeing that someone else did it on another website/blog.

I already had a body cap that I had used to attempt pinhole DSLR photography. That didn't work, so I hot glued the lens to the cap.

The camera has to be about 10 ft away from the subject for it to sort of be in focus.


Photo taken at approximately 7:30 p.m. I imagine that the lens is set to be about f8. That's what the diameter looks to be anyway. Since it is a toy lens, I can't change the aperture. This causes a bit of a problem. I would like to have included some light from the setting sun, but it was too much light and I couldn't work fast enough to not contribute ghosting in the image.


After twenty two photos I got one that I really liked. It was tricky to get the stencils placed just right. I would prefer that the sky wasn't so blank. I may try the photo with a different lens. Then I can frame it differently and have the ability to add more elements to the image. Having the option to change the f-stop would be very helpful too.

Still, I do like the blurriness of the image due to the lens in this particular case. The only tweaks that I made in Photoshop were to boost the levels so that the grass would be a little more visible.


Thanks for looking.

Saturday, April 17, 2010

Spirit Mound

I've been planning for YEARS to do a star trail image at night of Spirit Mound. I have tried once or twice previously with my film camera. Those results weren't quite what I'd hoped for. Still, season after season goes by and I didn't get out there. In the summer when it's warmer the sun may set at 9:30, but the stars won't come out well enough until 11. Plus, the mosquitos are miserable out there. In the winter it gets dark early, but it's also really really cold. AND, it's kinda spooky out there at night by oneself. So, a person can see how it's easy to put off a project, no matter how appealing it may be.

I've been more resolved to do projects like these this year. It helps that I participate in the Vermillion Camera Club and I want to have images worthy of showing to the group.

Yesterday we were treated to gorgeous weather. Instead of going for a walk in town, I headed for home via Hwy 19 and stopped off to hike up Spirit Mound.


Clear skies were forecasted for the evening, so I wanted to try my idea again. Fortunately my husband was able to finish up with the work that he really needed to accomplish and could join me. Our dog also decided that she would 'tolerate' the car ride so that she could go on the adventure too. I wish that I had a decent picture of her from last night.

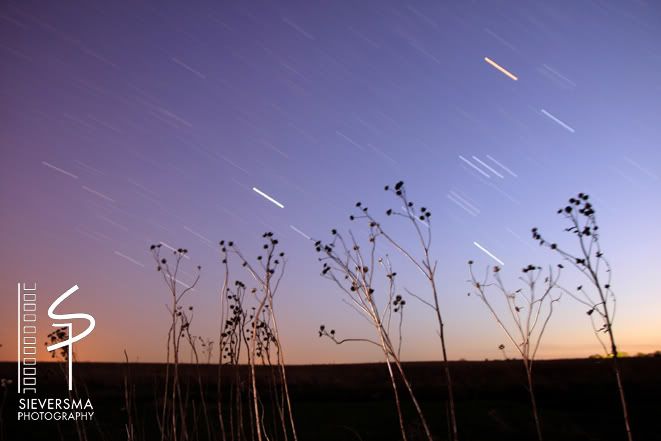
It takes so long for the stars to rise in the northern sky. So, I tried a couple photographs with some still standing stalks from the previous year's vegetation.

Photobucket

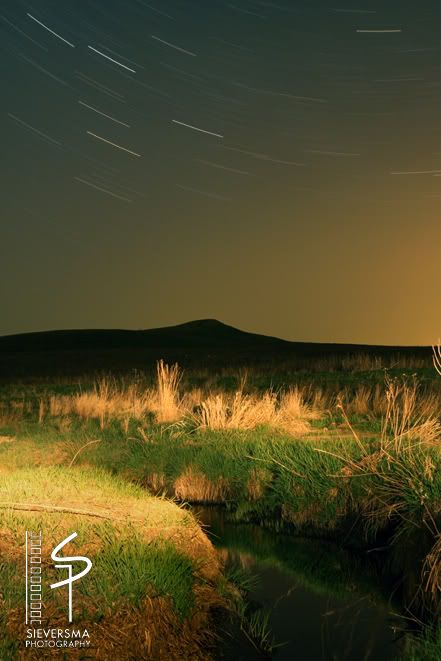
Finally we could see stars right above Spirit Mound. I wish that we could see them a little lower in the sky. The area is quite rural and the stars are bright, but we still have problems with light pollution. I did two exposures. Here's the first one that I did, I prefer the amount of lighting in this one. The image was made in the camera. I tweaked it abit to adjust the color balance and a little bit of the brightness/contrast.

Photobucket

You may visit my Scenic Photo Album, there is a link in the column on the right.

Friday, March 5, 2010

Lunch Hour Photo Outing

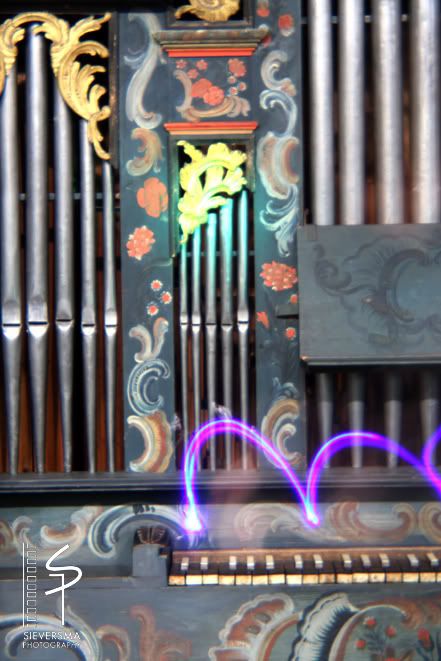
One of my friends who shares an enthusiasm for photography (and cycling) got a new lens and tripod this week. Of course whenever a person acquires a new gadget/toy/tool, it is necessary to try it out immediately, if not sooner. She suggested meeting at the Shrine to Music Museum across campus to see what captures our imaginations.


While it wasn't a highly social outing, we did regroup to compare notes and see what the other was doing. I haven't visited the museum often, but it was a nice break from the day to explore a place in our backyard. If you enjoy music at all, I would suggest stopping by. I've done the audio tour before and would give it a thumbs up as well.

Photobucket

Photobucket

I haven't seen Cathy's photos yet, I'm looking forward to them! She was working with the harps and a couple of the pianos. I'd like to go to the museum again, an hour just isn't enough time.

This one's my fave from the outing:

Tuesday, February 23, 2010

Fun with Holga

Photobucket

I had come across photographs used with a Holga camera a few years ago. I purchased two from Bhphoto.com. I thought I could keep one as is and eventually make modifications to the second. I have yet to take photographs with the cameras themselves. I have been using a holga lens on my DSLR camera.

Others have hacked a holga to create a lens for their DSLR cameras. Here's a tutorial. Here's the approach that I took when I made my lens.

I've been experimenting a bit. The point isn't to create a perfect image - that isn't really possible. You can't adjust focus and you can't adjust the aperture. Just mounting it to my DSLR gives me two controls that I wouldn't have otherwise: shutter speed and an adjustable ISO setting. I haven't figured out the sweet spot for focal distance. I'm sure that there's a mathematical formula that I could use. But, I actually prefer to guess.

Photobucket

It doesn't really work to take photos of things far away. For instance, geese flying away from you aren't ideal subjects, though they are fun.

Photobucket

I'll keep working with this for awhile, I think. It's something different. Sometimes the image seems 'artsy' sometimes it just looks like a poor photo. I don't have one that I want to enlarge yet.

Photobucket

Photobucket

Saturday, February 13, 2010

Pinhole Photography

Photographers in Vermillion have recently begun a camera club. I'm excited about this. I tried to belong to the Sioux City Camera Club, but I always had to work the nights that they met. We'll see what my track record is with this group. I've been able to attend one of two or three meetings, but was able to participate in the activity for the month.
Photobucket

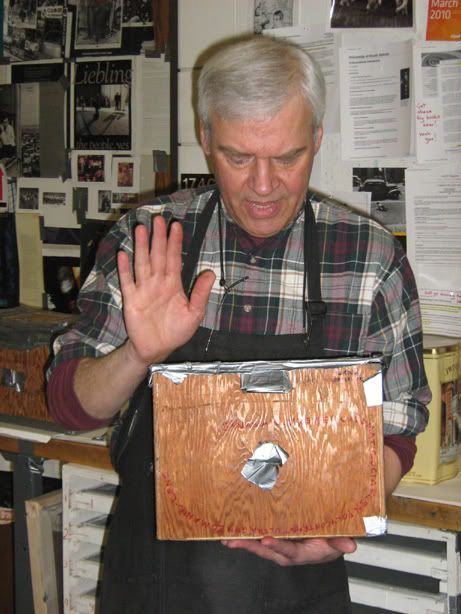
USD's photography instructor, John Banasiack, hosted the activity and discussed a very important tool in the development of the art form. Pin Hole cameras have been used for hundreds of years. It's such a basic device, but I've never had the opportunity to try one myself.


John demonstrated using a wood box camera that he'd constructed. Oatmeal containers, candy tins and a variety of other containers were also available. It is tricky to pick which you'd like to use though. A shallow container creates a wide angle image, a deep container is more like a telephoto lens.
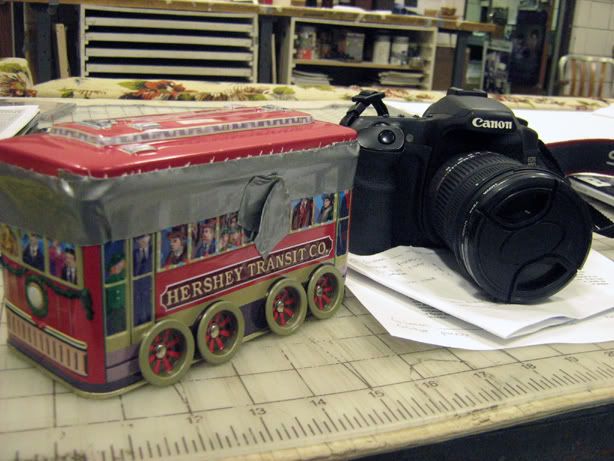


I used a chocolate tin. I picked it because it seemed the most novel. My container was shallow, so I got a wide view. However, the back surface of the container is quite small, so it wasn't large enough to reveal the circular field of view. This is like your 35mm cameras, or even your digital camera. If your lens was allowed to project onto a surface large enough, you'd get a round image. But, these cameras are built so that they crop a rectangular image out of the center of the circle. At least that's all to the best of my understanding.

First we cut a piece of film to fit our container. The pinhole is covered by tape so that we don't leak light too early. It's also a good idea to tape around the hatch to reduce the chance of any other unwanted light.

I took my camera out to a bike rack. It's tricky to aim the camera, there isn't a viewer. Exposures are long enough where you can't hand hold the box, so it needs to be set on the ground. I was going to place mine on the garbage can, but I didn't like the location.
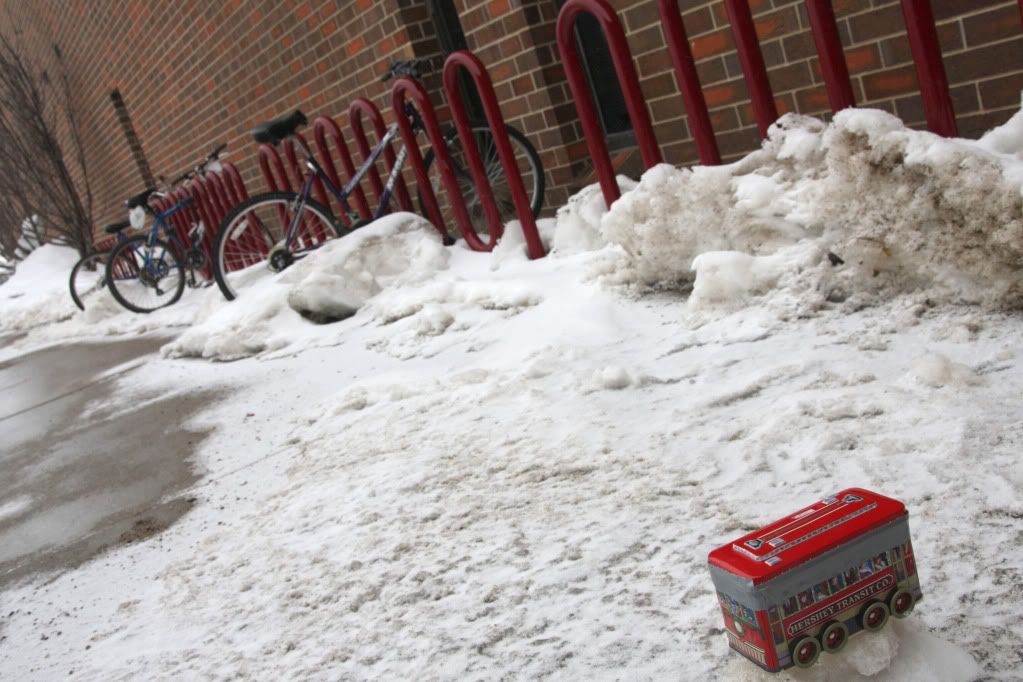


I exposed my image for about 15 seconds, then returned to process the film. If I chose to make an image inside, the exposure would've been closer to 30 minutes. This film responds better to ultraviolet light.

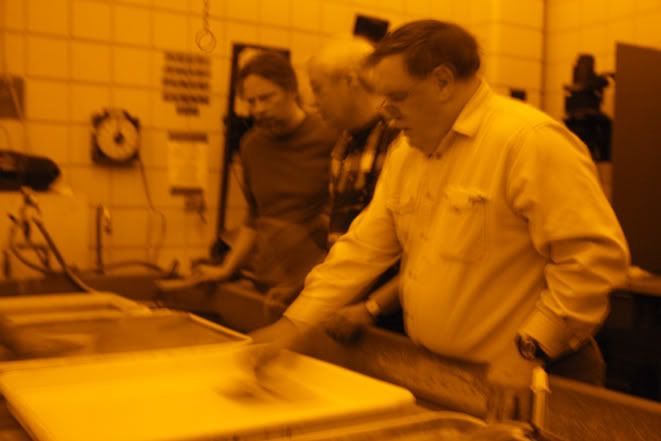
Here's a group processing their film:


My negative:
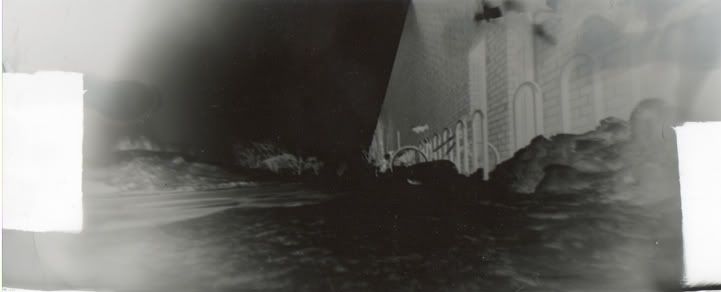


Photos are printed by placing the negative in direct contact with paper. We brushed a chemical solution onto paper. Again, this surface responds better to ultraviolet light rather than artificial light. After preparing the paper and assembling the contact print holder, I returned outside to wait for 20 minutes while the image revealed itself.


Then it was back to a water and developer bath to adhere the image to the paper and stop the process from advancing further.
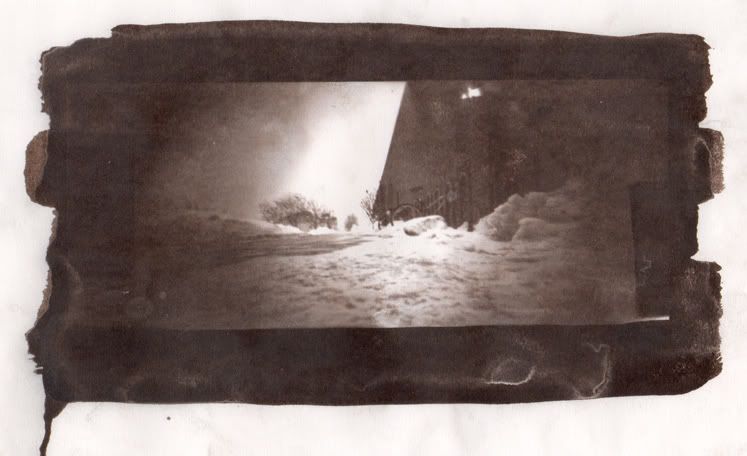


Getting detail in both the dark and the light regions simultaneously is difficult. If I could do it again, I'd move closer to the bikes. I did want to show that they were snowed in, but it's hard to see that in the resulting image.
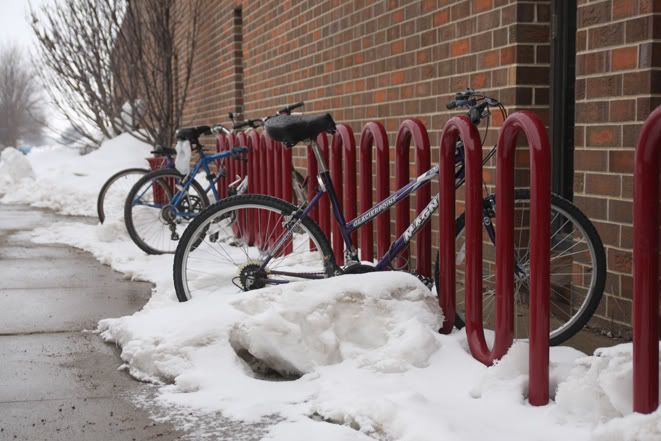

The target image taken with my digital camera.

I haven't had the opportunity to process paper in a darkroom in YEARS. I graduated 9 years ago. I maybe worked in the darkroom a couple times in the first year out of college. While we didn't use an enlarger to print photos onto paper, this was still really cool.

I need to clean out my basement and set up an area for a darkroom. I've acquired an enlarger and most of the items that I need. I just haven't gotten around to doing it. It's something that I wondered if I ever would get around to. Digital photography is an incredible development, I do enjoy the instant gratification of seeing the image that I JUST made. But, there is something magical about going through the process of making an image appear on film and then on paper.

During our session we got a refresher course on the history of photography. The craft has been around for a long time. We discussed that images can be made without electricity and that with the process that we did during the day, we could in fact document the apocalypse.

I've debated taking photography courses at USD. I have a minor in the discipline, why relearn what I've already gone through? Access to resources, direction and facilities would be huge. John mentioned that the primitive photographic methods are areas that his students delve into. I wouldn't trade the photography professor that I did have, but it would've been a great experience to make a pinhole camera, or experiment with albumen plates (egg white is the medium that adheres the light sensitive silver particles to a glass plate). There are so many other printing methods to learn too.

If it works into my schedule next year, perhaps I'll enroll. Really, I think that anyone interested in photography should take an introductory class. At a university. There are lots of methods to learn composition and how to "take" a photo, but in this digital age people have limited access to film and how photos used to be made.

Film vs. Digital, I won't deny that film seems to be withdrawing into history. I don't have to like it though. On one hand digital is maybe more environmentally sound in that you can toss all of the experimental exposures that you made on the way to the final image and film involves chemicals and the use of special paper and the production of roll upon roll of negatives. On the other hand, digital photographers are never happy. In this age of computers and processors, there's always a bigger and faster camera to upgrade to or computers to replace and software to purchase. It really is maddening. Computers are so much a part of every day life now, I guess that it doesn't make a huge difference.


I will, however, continue to hold on to my Canon Elan 7e and my rustic Pentax K1000. I can't bear to let them go and they wouldn't bring much on ebay right now anyway. :D

This weekend I've also been trying to make my digital camera into a pinhole camera. I haven't had much luck. We drilled a one inch hole into the body cap of my camera. Then I taped a piece of black paper over it and made a pin hole in the center. Even shooting a wide scene, there doesn't seem to be any point that's in focus. Generally the smaller the opening, the sharper the scene when you deal with the aperture on a lens. Our pin hole cameras yesterday weren't tack sharp, but there were some areas with a bit of focus.

Here's an image from my effort:
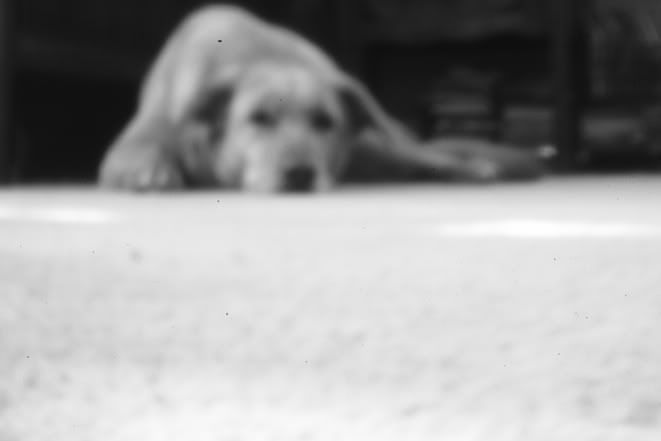


I will experiment. If anyone has any suggestions or insight, I'm open to them!

Saturday, January 23, 2010

Butterfly House

Sioux Falls has an escape from the cold temperatures, The Butterfly House at Sertoma Park. If you haven't been, you really should check it out. I recently went with two other friends who share an interest in photography. We were able to soak up a bit of warmth and enjoy these colorful creatures (not to be cliche).


You have to be mindful of where you step or sit. The butterflies like to perch anywhere. Also, they hitch a ride on visitors occasionally. There are air traps for exits so that you can check for tag alongs before you leave.

Arrival

We have a bunch of chickens on our acreage, so we gathered a few eggs and tried to hatch them. One Saturday morning we were able to drink coffee and watch this chick emerge.